Security cameras have become an integral part of home and business security systems, providing a watchful eye over property and people. However, positioning a camera to monitor an area through a window introduces several challenges, primarily due to the glass itself. Glass can reflect light and create glare, significantly impacting the camera’s ability to capture a clear image. This is a commonly faced issue when attempting to use indoor security cameras to view the outside of a property through windows.
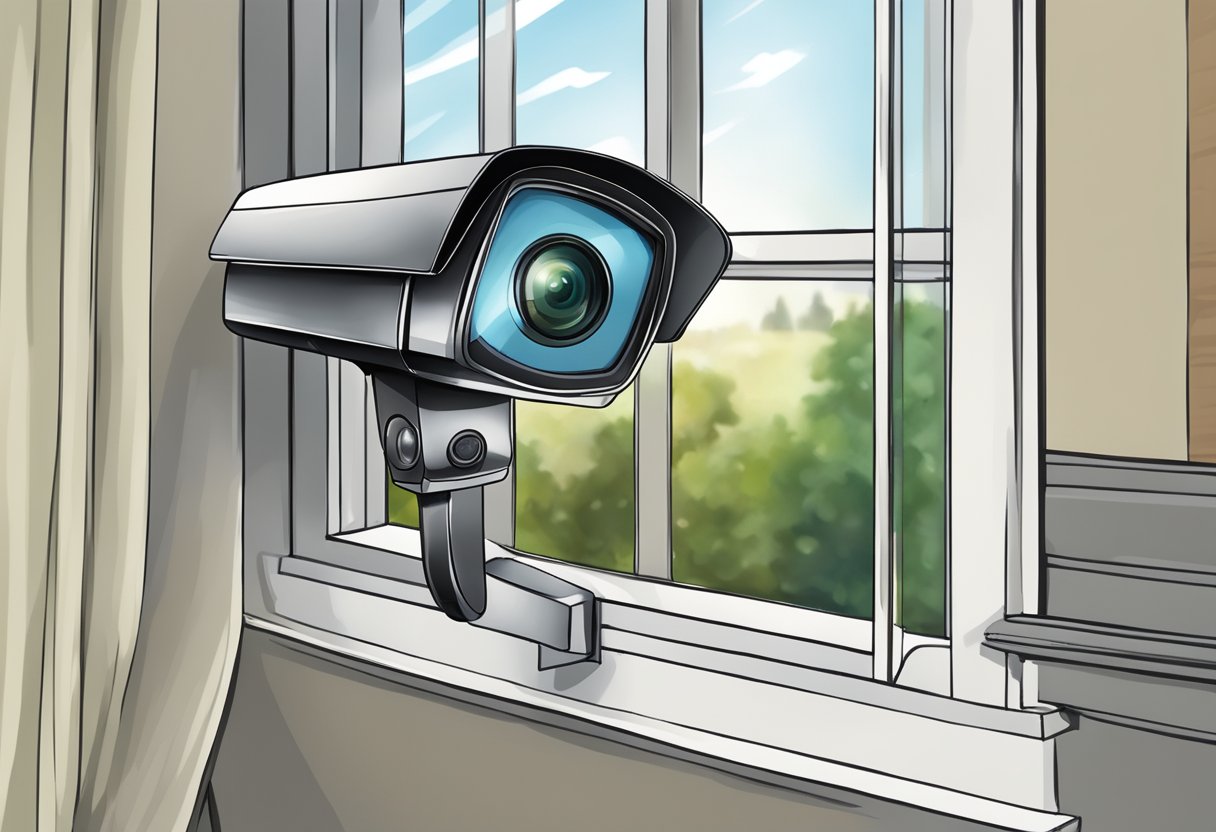
The technology within security cameras is constantly evolving, especially in terms of coping with difficult lighting and reflections. For instance, infrared technology in night vision cameras, which is critical for capturing footage in low light conditions, doesn’t perform well through glass. It often results in a phenomenon known as IR bounce back, where the infrared lights reflect off the window and obscure the camera’s view. Additionally, the effectiveness of a security camera’s motion detection can be compromised by the reflections and glare caused by windows.
Key Takeaways
- Glass reflections can interfere with the clarity of security camera footage.
- Infrared night vision technology does not work well through windows due to IR bounce back.
- Motion detection functionality may be reduced when cameras are positioned behind glass.
Understanding Security Cameras and Windows
Integrating security cameras effectively with windows is crucial for maximizing surveillance potential while navigating the technical implications of reflective surfaces.
Types of Security Cameras
- Indoor Security Cameras: Usually designed to operate within the confines of a building, these cameras can struggle with glare when pointed at or near windows.
- Example: An indoor camera may have issues capturing clear footage through a window during daylight due to reflections.
- Outdoor Security Cameras: Engineered to withstand weather conditions, these cameras are often placed outside, avoiding the issue of looking through windows.
- Example: An outdoor security camera is typically mounted to view the area outside without any glass interference.
- Wireless Security Cameras: Offers flexibility in placement, but considerations about their proximity to windows are similar to wired cameras.
- Example: A wireless security camera positioned inside but facing a window may experience the same reflective challenges as wired models.
Challenges with Glass Surfaces
- Reflection and Glare: Sunshine and artificial light can reflect off glass surfaces, potentially obscuring video capture.
- Specifics: A security camera facing a window can pick up reflections of indoor lights or the sun, leading to obscured or washed-out footage.
- Infrared (IR) Light Issues: Cameras utilizing IR for night vision are susceptible to IR light bouncing off windows, creating a halo effect or flare.
- Specifics: When an indoor security camera with IR night vision points at a window, its IR light can reflect back into the lens, complicating visibility.
- Impact on Motion Detection: Window reflections might interfere with a camera’s ability to detect motion accurately.
- Specifics: A home security camera that relies on motion detection can be triggered by false alarms due to light shifts on the glass it’s viewing through.
Infrared Technology and Night Vision
Infrared technology enhances night vision capability in security cameras, allowing them to capture images in low light conditions. However, the effectiveness of this technology can be significantly impacted when recording through glass surfaces.
IR Illuminators and Night Vision Functionality
Security cameras with night vision capabilities often utilize IR illuminators to cast infrared light, invisible to the human eye, onto an area. This enables the infrared security cameras to capture detailed video footage even in the absence of visible light. The camera’s sensor detects the IR light that reflects back from objects, which is then processed to create a clear image.
Key Features of IR Illuminators:
- Range of illumination: IR illuminators can cover different distances, which directly affects the camera’s ability to capture distant objects at night.
- Angle of illumination: Wider angles provide greater area coverage but may produce less intense light over the same distance.
- Life expectancy: Most IR LEDs used in IR lighting have a lifespan which correlates with their usage time.
Typical Setup for Night Vision:
- IR illuminators are positioned to maximize area coverage.
- Cameras are set to switch to infrared mode when light levels fall below a certain threshold.
- IR cut filters may be used during daylight to filter out infrared light and ensure accurate color representation.
Limitations of IR through Glass
When a security camera views through a window, the IR light can reflect off the glass, causing glare or a washed-out image that hinders visibility. This phenomenon is particularly problematic for infrared security cameras attempting to capture clear imagery during nighttime.
Factors Affecting IR Performance Through Glass:
- Reflective Surfaces: Glass, being highly reflective, can bounce IR light back into the camera lens, leading to poor video quality.
- Glass Thickness: Thicker panes of glass have a higher chance of reflecting IR light, further reducing the camera’s ability to capture a clear image.
- Angle of Installation: The angle at which the camera is positioned relative to the window can increase or reduce reflection issues.
- Type of Glass: Certain types of glass are treated or coated and can block or absorb IR light, complicating the use of night vision through windows.
Security professionals often recommend against placing infrared security cameras behind glass, especially if the IR illuminator is integrated into the camera system. Alternative solutions include using external illuminators positioned outside or opting for cameras without IR features for indoor-to-outdoor surveillance.
Addressing Glare and Reflections
Effective management of glare and reflections is crucial for optimizing the performance of security cameras through windows.
Identifying Sources of Glare and Reflection
One must first recognize the primary culprits contributing to window glare and reflections. The position of the sun, as well as lighting conditions inside and outside, significantly influence the presence of glare on the camera lens. Moreover, the camera’s angle in relation to the glass can exacerbate the issue of window reflection.
Strategies to Reduce Window Glare and Reflection
To reduce window glare and reflection, the following strategies are useful:
- Camera Placement: Adjusting the camera’s angle away from direct light sources minimizes glare. This may involve subtle shifts to avoid angles where light directly hits the lens.
- Filters and Films: Application of anti-reflection coatings or films on window glass significantly reduces reflections.
- External Solutions: The use of external shades or awnings can block excessive light and diminish glare impacting the camera’s view.
- Internal Adjustments: Ensuring that internal lights do not face the camera and reducing indoor lighting can aid in lessening reflections and glare.
By meticulously applying these approaches, the visibility through a window for a security camera can be greatly improved.
Effect of Lighting on Camera Visibility
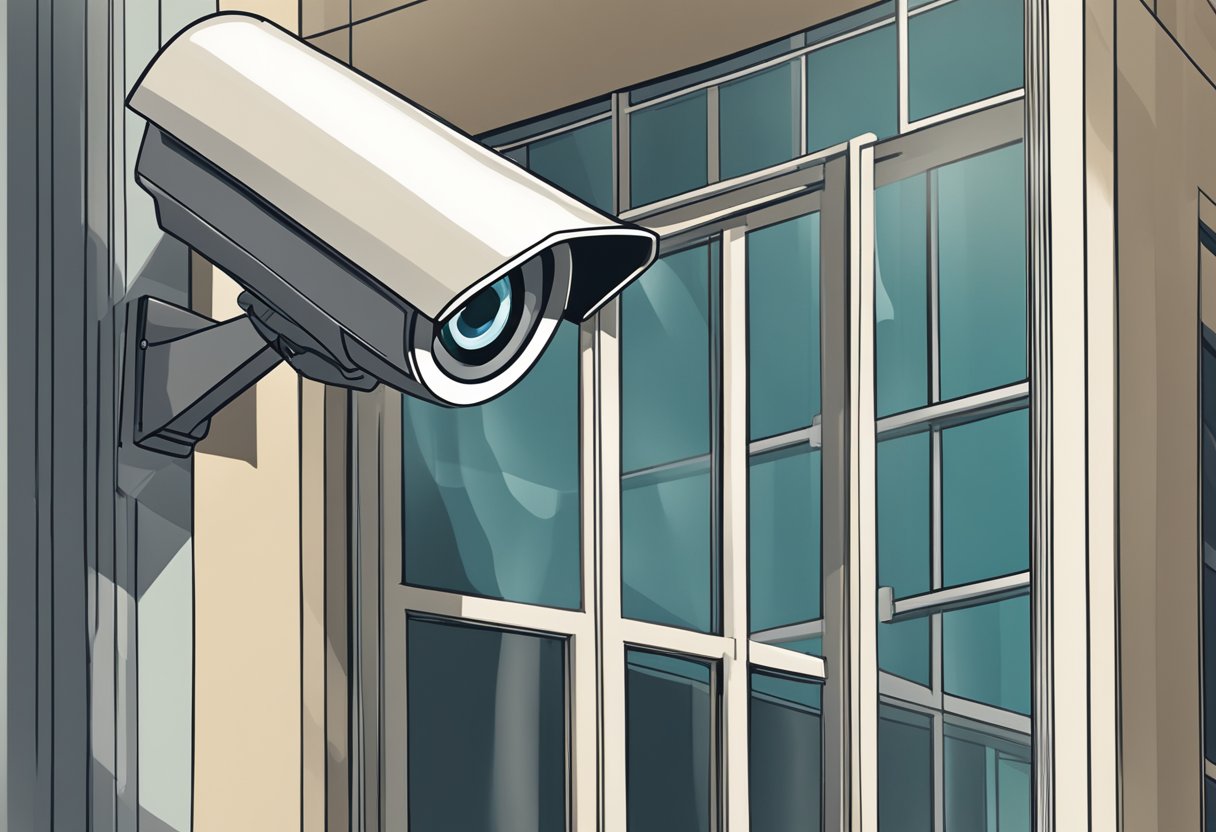
The visibility of security cameras through windows is significantly affected by different light sources and intensities. Proper adjustment is crucial to avoid image quality issues, such as overexposure and whiteout.
Impact of LED and External Lights
LEDs and external lights, including motion-activated lights and automated external lights, influence the clarity a camera captures through glass. During the night, external light sources can cause reflections that obscure the camera’s view. Security cameras with infrared (IR) LEDs for night vision might not work through windows as the IR light often reflects back into the camera lens.
- Motion-Activated Lights:
- Advantages: Can improve visibility by providing temporary bright light.
- Disadvantages: May cause glare, reducing camera effectiveness.
- Automated External Lights:
- Advantages: Offer consistent lighting for better camera performance.
- Disadvantages: If too bright, can result in overexposed footage.
Adjusting for Overexposure and Whiteout
Camera settings should be adjusted to mitigate overexposure, which occurs when too much light enters the lens, washing out the image. Similarly, whiteout can happen if the camera is pointed directly at bright lights.
- Camera Exposure Settings: Adjusting camera settings can balance light levels to avoid washed-out images.
- Positioning and Angle: Properly angling the camera away from direct light sources can prevent whiteout.
- Status Lights on Cameras: Often contribute to window reflections and should be minimized when a camera faces a window.
By understanding and adjusting for these light-related factors, a security camera’s ability to see through a window can be optimized.
Mounting Solutions for Window Surveillance
Selecting the right mount and location is crucial for effective window surveillance using security cameras.
Suction Cup and Window Mounts
Suction cup mounts offer a flexible solution for security cameras aimed through windows, ensuring a secure grip on the glass surface. Window mounts, on the other hand, generally adhere to the window frame or adjacent walls using a combination of suction and mechanical fasteners.
- Suction Cup Mount:
- Material: Typically made of high-grade rubber
- Installation: Clean the window thoroughly before moistening the suction cup for a stronger bond.
- Window Mount:
- Compatibility: Check for compatibility with camera make and model.
- Stability: Often includes locking mechanisms for added security
Optimizing Angle and Position
To avoid glare and reflections, cameras should be positioned at an optimal angle relative to the window. This can involve adjustments in tilt and rotation to achieve the clearest line of sight.
- Positioning Tips:
- Place the camera close to the glass to reduce reflection.
- Angle the camera away from direct sunlight or bright light sources.
- Mounting Locations:
- Porch light or soffit: Integrating cameras with these fixtures provides elevation and shelter.
- Overhang or ledge: Utilize these for a downward viewing angle.
- Exterior wall: Choose mounts designed for wall installation when window mounting is impractical.
Motion Detection through Windows
Motion detection in security cameras relies on various sensor technologies, with performance being affected when attempting to detect through windows.
PIR Sensors and Window Interference
Passive Infrared (PIR) sensors are commonly used in motion sensor security cameras due to their effectiveness in detecting changes in heat emitted by objects, particularly warm-bodied creatures like humans. However, PIR sensors often struggle with window interference since glass can reflect or absorb the infrared radiation they rely on, leading to a reduced ability to detect motion on the other side of a window.
Factors affecting PIR sensor performance through glass include:
- Glass thickness: Thicker glass can absorb more infrared energy, hindering detection.
- Window treatments: Tinted or reflective coatings on windows can also diminish sensor sensitivity.
- Angle of installation: The angle at which the camera is placed in relation to the window impacts the sensor’s capacity to detect motion.
Enhancing Motion Sensor Performance
Improving the performance of motion detection through windows involves a few strategies:
- Use cameras with dual technology sensors: Combining PIR with microwave or ultrasonic sensors can compensate for the limitations of PIR alone.
- External motion detectors: They can be positioned outside to avoid window interference.
- Adjust sensitivity settings: If the camera allows, increasing sensitivity could help, but this might also increase false alarms.
- Placement: Position cameras at an optimal angle to minimize reflections and ensure a clearer line of sight through the window.
Home Security Integration
Integrating security cameras into a home security system enhances the overall safety network of a residence. Modern technology allows for seamless connections between cameras and smart home ecosystems, as well as the utility of advanced features such as two-way audio and cloud storage solutions.
Connecting Cameras with Smart Home Systems
Homeowners can significantly improve their security posture by connecting cameras like the Nest Cam Outdoor and the Reolink Argus 3 Pro with smart home systems. Here’s how they can do it:
- Compatibility: Ensure the security cameras are compatible with smart home platforms such as Google Assistant.
- Integration Process:
- Use a dedicated application provided by the camera manufacturer.
- Follow the step-by-step guide to link the camera with the smart home system.
- Connectivity: Maintain a stable Wi-Fi connection to guarantee uninterrupted surveillance.
Incorporating Two-Way Audio and Cloud Storage
Security cameras with two-way audio and cloud storage offer additional layers of security.
- Two-Way Audio:
- Allows homeowners to communicate with visitors or alert potential intruders.
- Cameras like the Reolink Argus 3 Pro support this feature.
- Cloud Storage:
- Securely stores footage offsite, preventing data loss due to device damage.
- Select a plan that balances cost with the need for storage space and retention time.
- Integration with cameras such as the Nest Cam Outdoor provides easy access to recordings through smart home applications.
- Securely stores footage offsite, preventing data loss due to device damage.
Optimizing Outdoor Camera Settings
Proper configuration of outdoor security cameras ensures high-quality footage both during the day and at night. Strategic adjustments can greatly enhance the camera’s effectiveness.
Adjustments for Quality Day and Night Captures
High resolution and frame rate settings are crucial for clear daytime video capture. For optimized performance, it is recommended to set the resolution to at least 1080p and adjust the frame rate to 30 frames per second to ensure smooth footage.
Resolution:
- 1080p or higher for detailed images.
Frame Rate:
- 30 fps for smooth video.
During night-time, infrared (IR) settings should be calibrated to balance the distance and clarity of the IR illumination. Users can adjust the IR intensity so that scenes are neither overexposed nor too dark, which helps in capturing details even at a distance.
IR Settings:
- Adjust the IR intensity for balanced night-time illumination.
- Enable Smart IR if available, to automatically adjust IR levels based on the object’s distance.
Leveraging Color Night Vision and Optical Zoom
Color Night Vision: Modern outdoor cameras may come with color night vision capabilities, which should be activated for enhanced nighttime imagery. This mode requires some ambient lighting but can capture more details than traditional infrared night vision.
- Activate Color Night Vision to benefit from improved detail in low light conditions.
Optical Zoom: Optical zoom preserves image quality when zooming in on distant objects. Unlike digital zoom, which just crops and enlarges the image, optical zoom uses the camera lens to bring subjects closer.
- Use optical zoom to focus on specific areas without losing image clarity.
- For best results, cameras with a variable focal lens or PTZ (Pan-Tilt-Zoom) capabilities are recommended, as they allow for dynamic adjustment of the field of view.
Recording and Storage Options
Choosing the right recording and storage solutions ensures that the footage captured by security cameras is accessible and secure when needed.
SD Card versus Cloud-Based Solutions
- Capacity: SD cards provide a finite amount of storage, commonly ranging from 2GB to 1TB per card. It is essential to regularly check the card’s capacity or set the camera to overwrite old footage.
- Accessibility: Footage on SD cards can be accessed directly by removing the card from the camera. This method is limited by the physical retrieval of the card, possibly hindering timely access to the videos.
Cloud-Based Storage:
- Unlimited Storage: Cloud storage offers potentially unlimited space, dependent on the service subscription. For example, the Wyze Cam includes options for cloud-based storage, which can mitigate the limitations of physical storage devices.
- Remote Access: Users can tap into their cloud-stored data remotely, offering flexibility to view live or recorded footage at any time and from any location with internet access.
Understanding Continuous and Motion-Triggered Recording
Continuous Recording:
- 24/7 Surveillance: Continuous recording captures video non-stop, ensuring that no event is missed. It demands substantial storage capacity, which means a robust SD card or sufficient cloud storage is imperative.
- Power Consumption: This method consumes more electricity and storage but removes the risk of missing an incident due to a lack of motion detection.
- Efficient Storage: Only records when movement is detected, significantly reducing the storage space needed. Both SD card and cloud storage can accommodate this type of recording, though with varying degrees of effectiveness.
- Wyze Cam’s Feature: Wyze Cam and similar cameras often feature motion-triggered recording, allowing users to store critical footage while minimizing unnecessary data accumulation.
Considerations for Installation and Maintenance
When installing security cameras to monitor through glass windows, two critical factors are proper positioning for optimal visibility and ensuring the camera’s resilience to environmental conditions. Each plays a crucial role in the camera’s performance and longevity.
Evaluating Placement and Accessibility
- Visibility: For a security camera to see through a window effectively, it must have a clear line of sight. Any obstructions like tree branches or reflections caused by lighting should be considered. Mounting the camera at an angle that minimizes glare and reflection is essential.
- Wiring: If the camera is not wireless, wiring requires thoughtful planning to maintain both aesthetics and functionality. It must be protected from tampering and environmental damage.
- Wall Mount: Ensure the wall mount is securely fastened to avoid vibrations that may impact the camera’s stability and image quality. Also, it needs to be positioned where it can be easily accessed for maintenance.
Weather Resistance and Durability
- Weather-resistant Features: If any part of the camera setup is outside, it should be weather-resistant. Look for cameras with an IP rating that certifies they can withstand environmental conditions like rain or dust.
- Durability: In addition to weather resistance, consider the long-term durability of all components, including mounts and housing. They should be made from materials that resist wear and tear from the elements.
Tips for Using Security Cameras Through Glass:
- Avoid direct sunlight which can cause glare and affect image quality.
- Keep the window clean to maintain clear visibility.
- Use window films designed to reduce reflection, if necessary.
- Choose cameras with night vision capabilities that aren’t affected by glass.
Frequently Asked Questions
This section addresses common queries regarding the use of security cameras through a window, focusing on their effectiveness and clear imagery challenges.
How can I effectively use a security camera through a window during the daytime?
One should place the camera close to the glass to minimize glare and reflections. It’s also beneficial to ensure the camera has a polarizing filter to cut down on the reflection and glare from sunlight.
Are there any wireless security cameras that can clearly capture through a window glass?
Yes, some wireless security cameras are designed with advanced lenses and software algorithms that are optimized for shooting through glass, offering clearer images during the day.
Is it possible to achieve clear night vision recording with a camera through a window, and if so, how?
Clear night vision can be achieved by using external IR illuminators placed outside or by selecting cameras that can switch off their IR lights, thus avoiding reflections from the glass.
What methods help to reduce or eliminate IR reflection on glass when using security cameras?
To reduce IR reflection, one can use cameras without IR LEDs or those that allow IR lights to be turned off, and they could set up external lighting or IR illuminators outside to improve visibility.
How does window film affect the visibility and performance of security cameras looking through windows?
Window film can sometimes reduce glare and reflection, improving visibility for cameras. However, certain types of films might interfere with camera clarity by interrupting infrared light or obscuring the view.
Are adhesive stick-on window cameras effective for monitoring through glass?
Adhesive stick-on cameras can offer an effective monitoring solution against glass if they are designed to compensate for reflections and glare and are placed directly on the window to decrease distortion.